OBD (On-board Diagnostics)
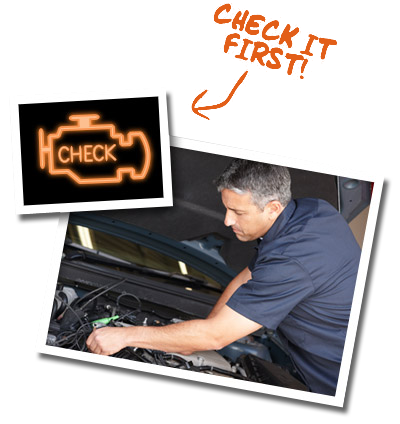
Check Engine Light
Most 1981 and newer vehicles are equipped with some form of on-board diagnostic computer. Since 1996, all light duty vehicles come standard with the OBD II system.
For OBD II vehicles, the vehicle computer monitors a number of emissions related factors and reports any variations from the “standards”. If the vehicle is operating out of the allowable ranges, the computer turns on the “Check Engine” light on the dashboard. This light may also be displayed as “Service Engine Soon”.
1996 and newer vehicles CANNOT PASS emissions testing with the “Check Engine” light illuminated. Determining what has caused the “Check Engine” light to illuminate, and repairing the problem is a job for trained professionals equipped with the proper tools to diagnose and repair the problem | Learn More >
Also related to the OBD II system are “Readiness Monitors”. Monitors are not physical devices, but rather programs within the on-board computer(s) that relay to the technician if an emission device or system is not ready for testing. A vehicle will be rejected from emissions testing if: on 1996-2000 model year vehicles, more than two monitors are reporting a not ready state or more than one monitor on 2001 or newer models.
OBD Monitors
All 1996 and newer light-duty vehicles sold in the United States are equipped with On-Board Diagnostic systems, known as OBD II. The primary purpose of these systems is to monitor and evaluate the vehicle’s emissions controls. Using this on-board evaluation, OBD helps to maintain low emissions levels and notifies the vehicle operator of problems before they become catastrophic failures.
In order for emissions systems to be properly evaluated, certain engine and transmission operating parameters must be met before the diagnostics begin. This is the function of “Readiness Monitors.”
When the vehicle diagnostic computer runs the evaluation routine, it is looking for specific conditions programmed into the monitor (routine) that tells the computer that the monitored system is functional and at the designed condition. If the system is not yet at the predetermined conditions, the monitor will register “not ready.”
Vehicles from model year 1996 through and including 2000, cannot be tested if presented for a test with more than two emissions systems reporting “not ready”. Vehicles from model year 2001 and newer cannot be tested if presented for a test with more than one system reporting “not ready”.
Once all the predetermined conditions have been met, the monitor is triggered to report a “ready” condition for the system it is monitoring. Reaching these predetermined conditions is done using a set of vehicle operating functions known as a “drive cycle.”
In early systems, 1996-1999, the drive cycle was often very simplistic, consisting of engine start, warm-up, local driving and highway driving. Newer models have much more detailed drive cycles, which have caused many people to believe that certain monitors will not set to “ready.” This is untrue; it just requires a more thorough drive cycle procedure. It is often best left to trained technicians to run the drive cycle.
Is your vehicle ready? | Learn More >
Generic Drive Cycle
The purpose of the drive cycle is to run your vehicle's onboard diagnostics. This, in turn, allows monitors to operate and detect potential malfunctions of your vehicle's emission system. The correct drive cycle for your vehicle can vary greatly, depending on the vehicle model and the monitors that need to be reset. When a specific drive cycle is not known, or drive cycle information is not available from an owner's manual, the generic cycle described below may assist with resetting your vehicle's monitors. However, this generic cycle may not work for all vehicles. If this drive cycle does not work, contact the vehicle manufacturer for drive cycles that are specific to the vehicle year, make and model.
IMPORTANT: If you choose to use the generic drive cycle below, you must obey all traffic laws and drive in a safe manner. Also, be sure the required preconditions are met prior to performing the drive cycle. Follow each step carefully and specifically to ensure that the drive cycle is properly conducted.
- Make sure all accessories are OFF (A/C, heater, radio, rear window defroster, cruise control)
- The "Check Engine" light must be OFF
- Fuel level must be between ¼ and ¾ full
- Engine temperature must be below 100 degrees (engine is cold)
- Start the engine and move the vehicle to a clear path and on a drive ready position
- Accelerate to 30 mph under moderate, constant acceleration. Hold at a steady speed for two to three minutes.
- Decelerate to a stop and idle for 40 seconds
- Accelerate to 55 mph under moderate, constant acceleration. Hold at a steady speed for four minutes.
- Decelerate to a stop and idle for 30 seconds
- Accelerate to 30 mph under moderate, constant acceleration. Hold at a steady speed for 12 minutes.
- Repeat Steps 8 through 11 four times
- Decelerate to a stop and park the vehicle
- Let the engine cool down to below 100 degrees (it may be necessary to park overnight)
- Repeat Steps 1 through 13 if this is the first time you are completing this step. Otherwise, continue to the next step.
- The drive cycle is complete